
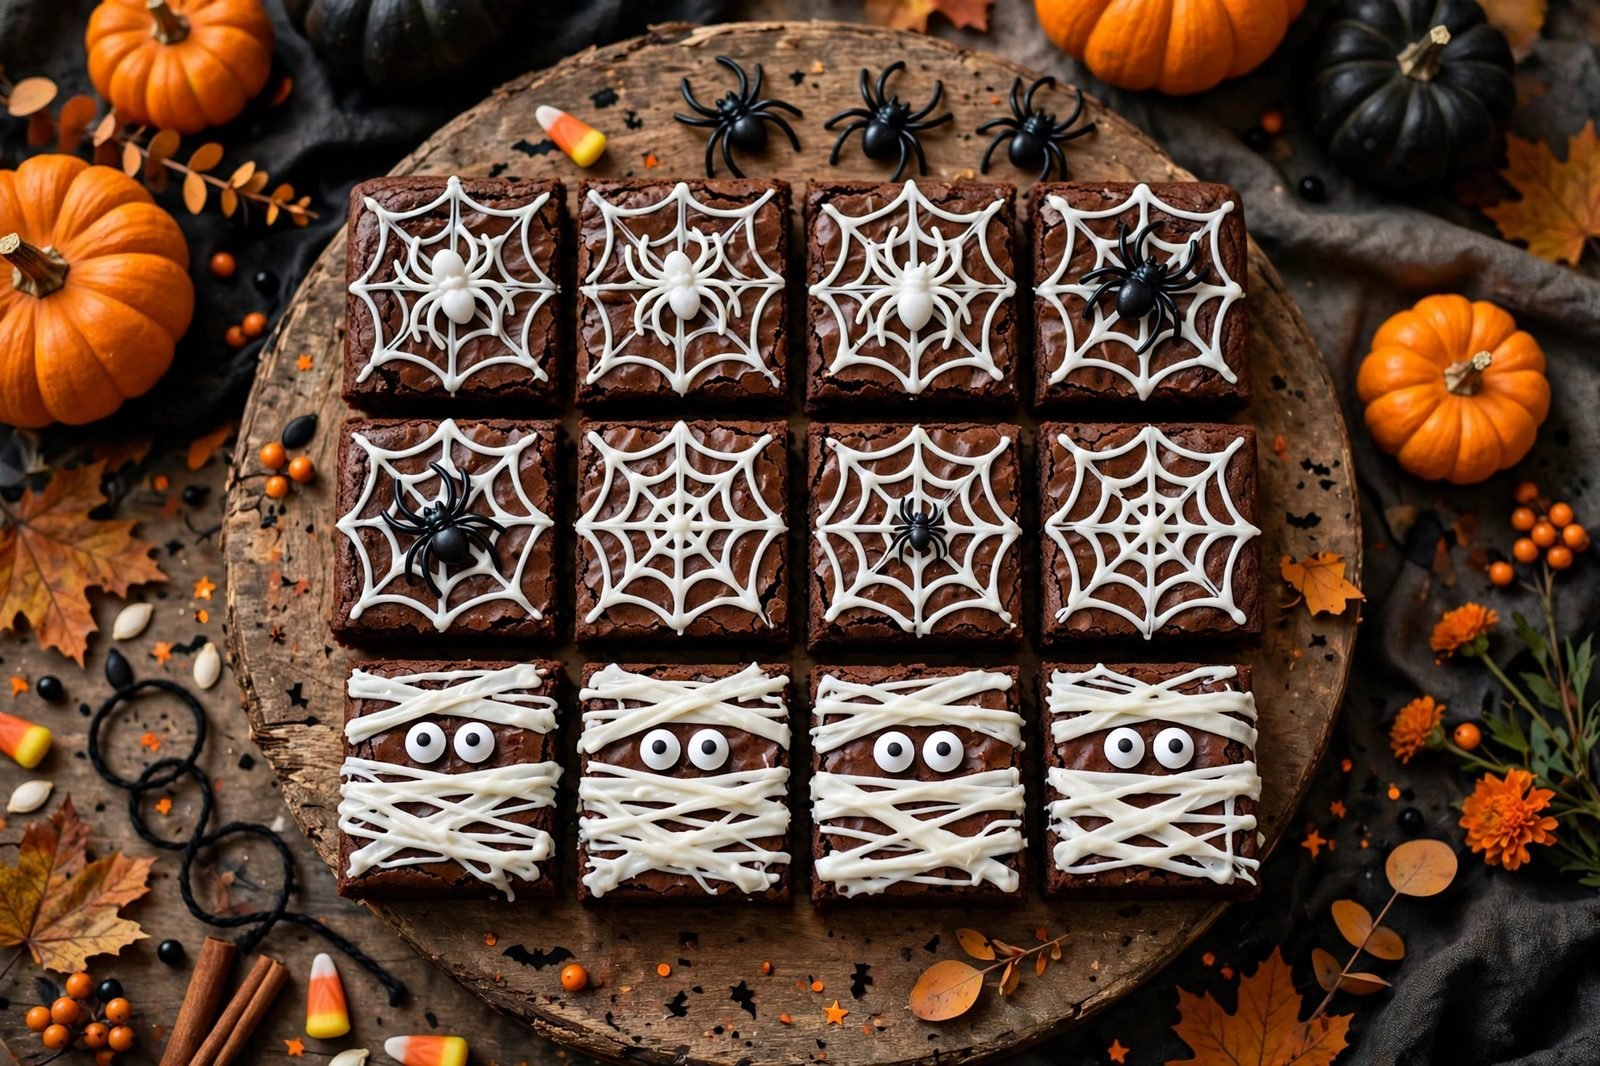
October baking has one rule: it should be fun. These Halloween brownies start with a fudgy one-bowl cocoa brownie recipe — crackly top, rich chocolate middle, zero fuss — and then the decorating is where the party starts. Half the batch becomes spiderwebs with white icing piped in concentric circles and dragged into webs; the other half becomes mummies with zigzag icing bandages and googly candy eyes. No special skills, no gore, just a tray of spooky-sweet brownies that disappear faster than the candy bowl.
Why you’ll love it
- One bowl, fudgy every time. Cocoa-based brownies with melted butter and chocolate chips — no mixer, no melted chocolate to temper.
- Two easy decorating designs. Spiderwebs (pipe circles, drag with a toothpick) and mummies (zigzag bands + candy eyes) — both look impressive with almost no skill required.
- About 3g protein per brownie (estimated), from the eggs and chocolate — a sweet treat, not a health food, and honest about it.
- Party and classroom friendly. 12 brownies from one 9×9 pan, and the spooky designs are cute — never gory.
Ingredients
For the brownies
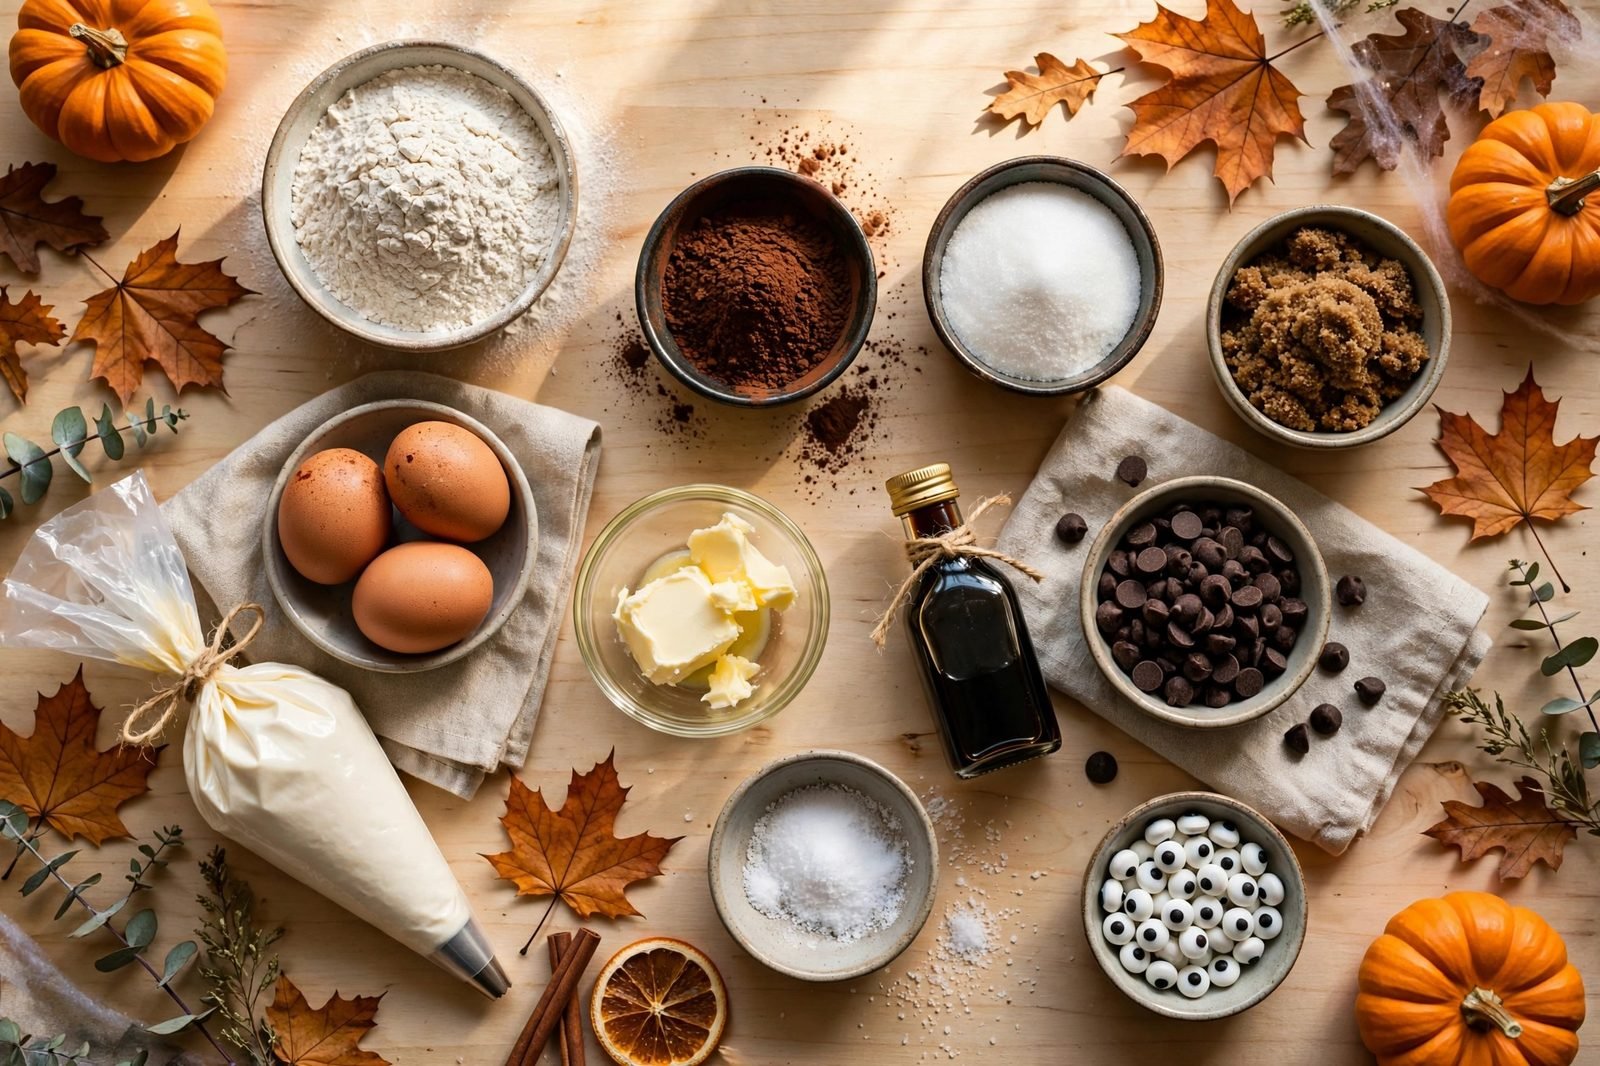
- 3/4 cup unsalted butter, 1 1/2 sticks, melted and slightly cooled
- 1 1/2 cups granulated sugar
- 1/2 cup packed light brown sugar
- 3/4 cup unsweetened cocoa powder, natural or Dutch-process
- 3 large eggs, room temperature
- 2 teaspoons vanilla extract
- 1 cup all-purpose flour
- 1/2 teaspoon kosher salt
- 3/4 cup semi-sweet chocolate chips
For the decorating
- 1 1/2 cups powdered sugar
- 2-3 tablespoons milk, any kind
- 1/2 teaspoon vanilla extract
- 12 candy eyes, for the mummies
- Candy spiders, optional, for the spiderwebs
Equipment
A 9×9-inch metal baking pan, parchment paper, a large mixing bowl with whisk and spatula, a piping bag or zip-top bag, a toothpick, and a wire cooling rack.
Instructions
- Heat the oven and prep the pan (5 minutes).. Position a rack in the center of the oven and heat to 350°F. Line a 9×9-inch metal baking pan with parchment paper, leaving an overhang on two sides for easy lifting.
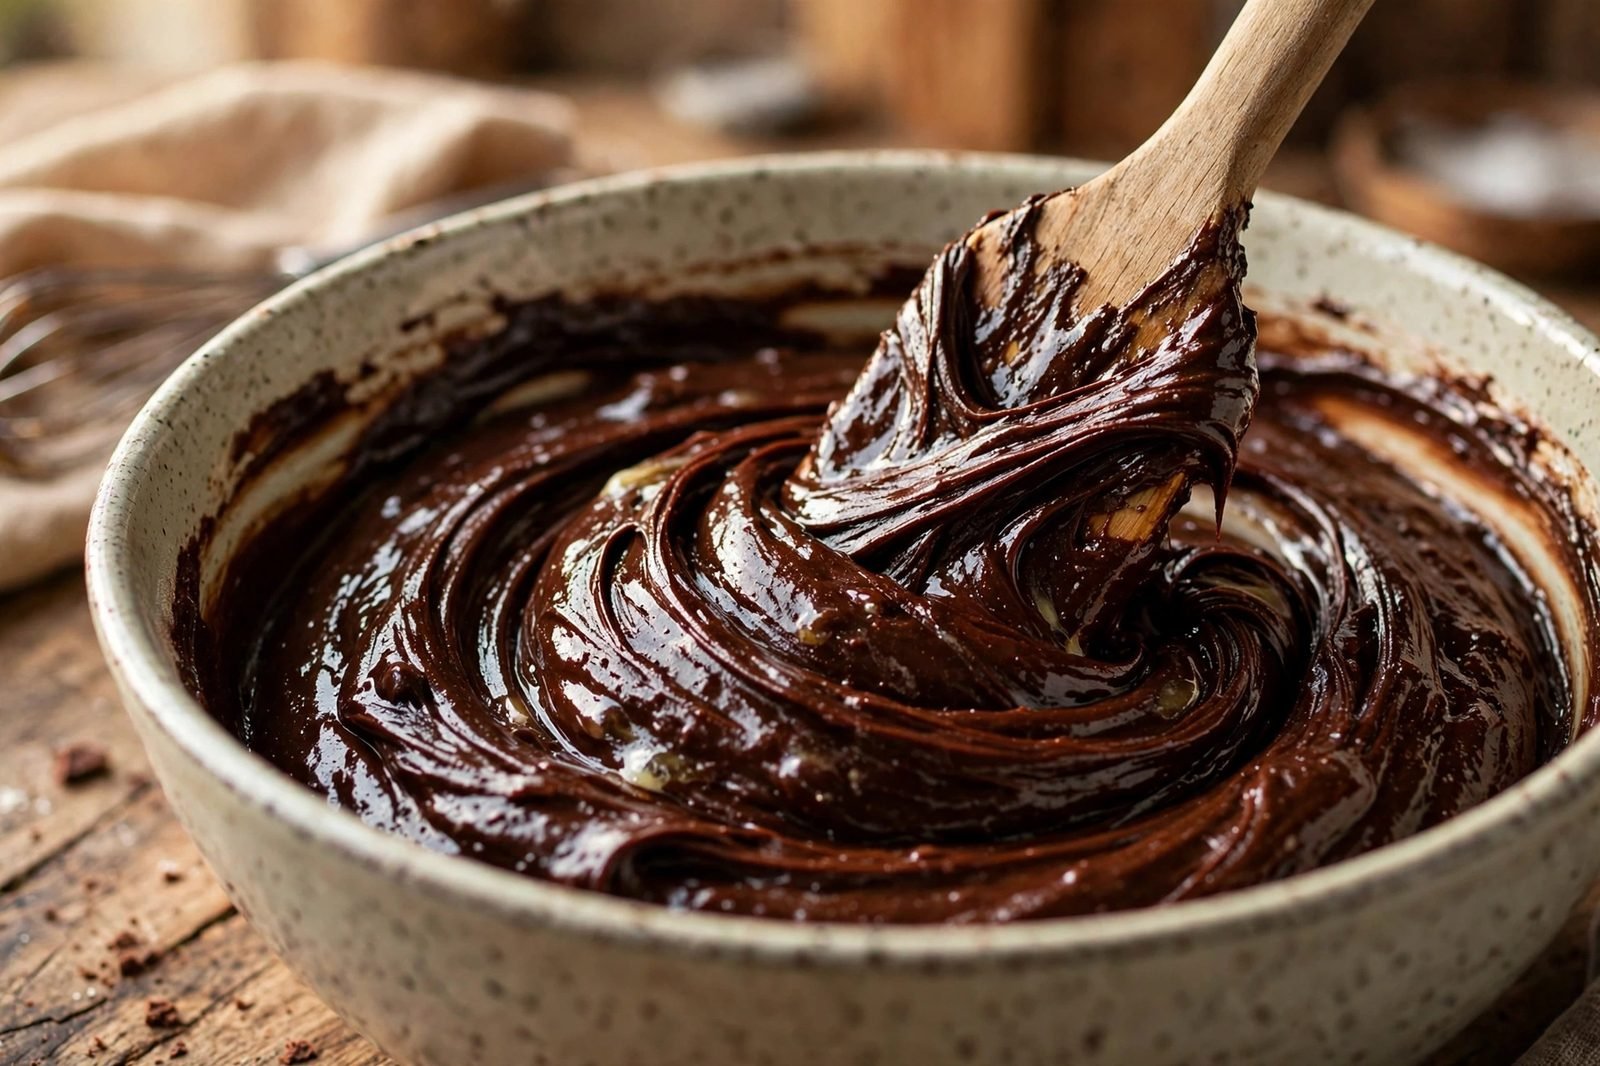
- Mix the batter, one bowl (10 minutes).. In a large bowl, whisk the melted butter with the granulated sugar and brown sugar until smooth. Whisk in the eggs and vanilla. Add the cocoa powder, flour, and salt, and stir with a spatula until just combined — a few streaks are fine; don’t overmix, which keeps the centers fudgy. Fold in the chocolate chips. Spread evenly in the prepared pan.
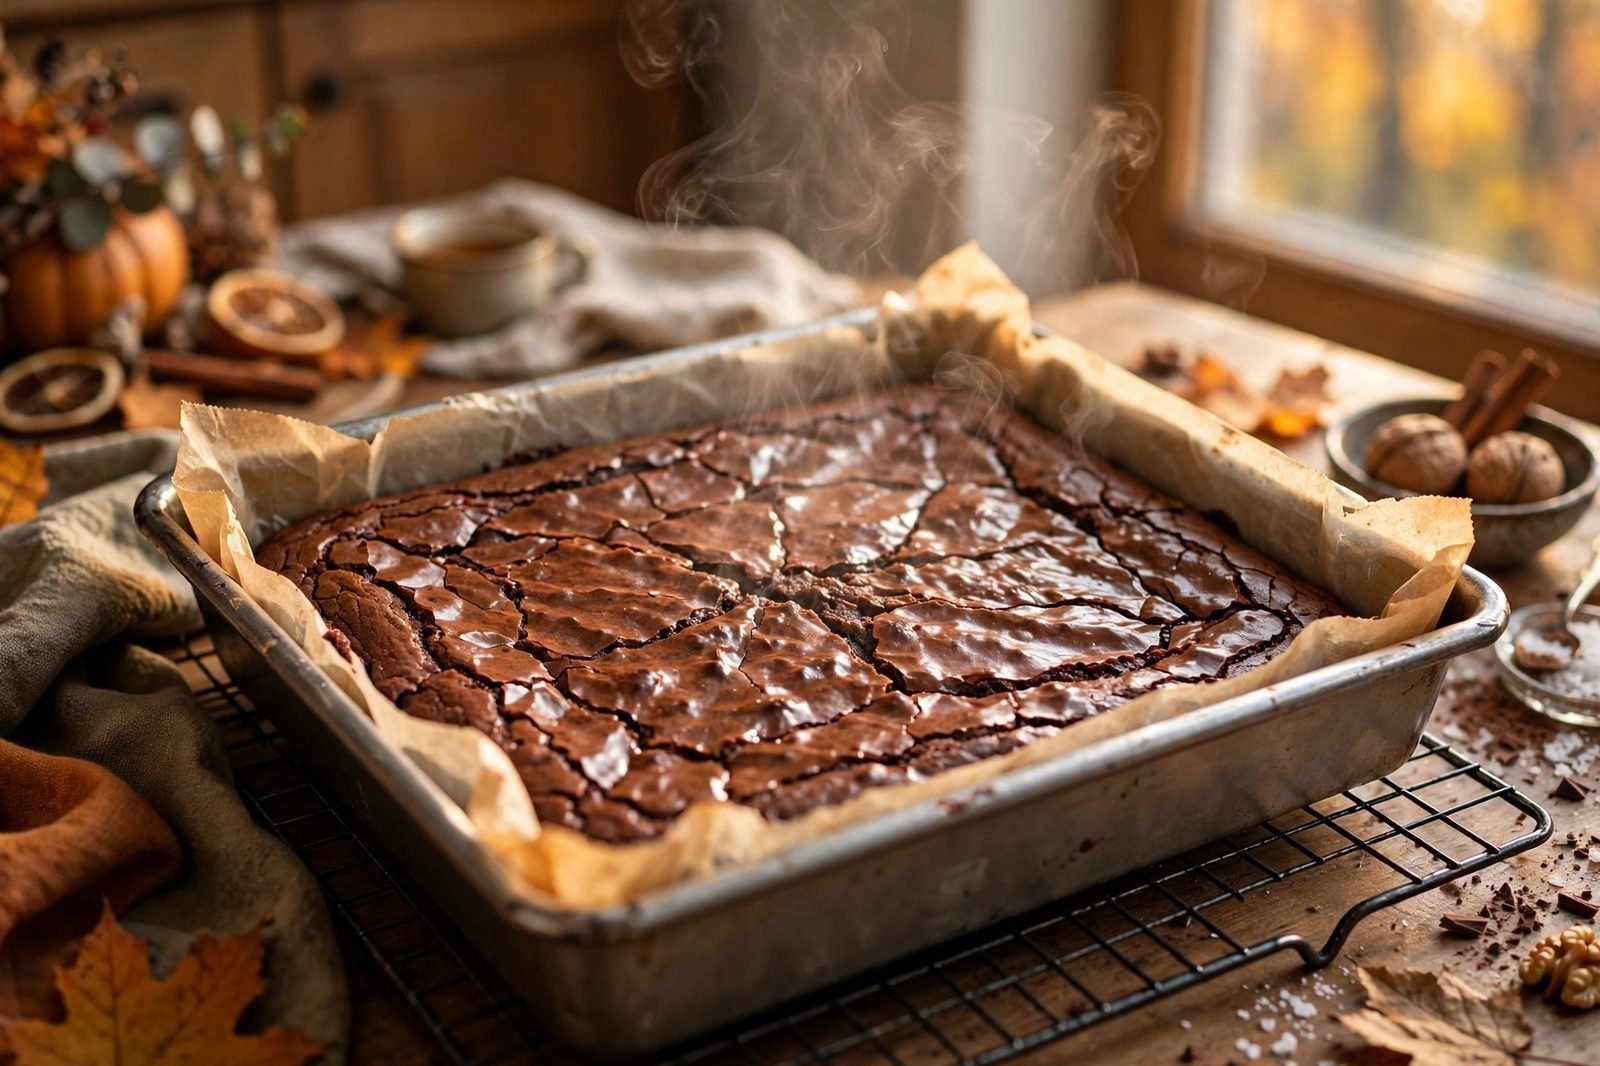
- Bake (28–32 minutes).. Bake until the edges are set and a toothpick inserted in the center comes out with moist crumbs (not wet batter), 28–32 minutes.
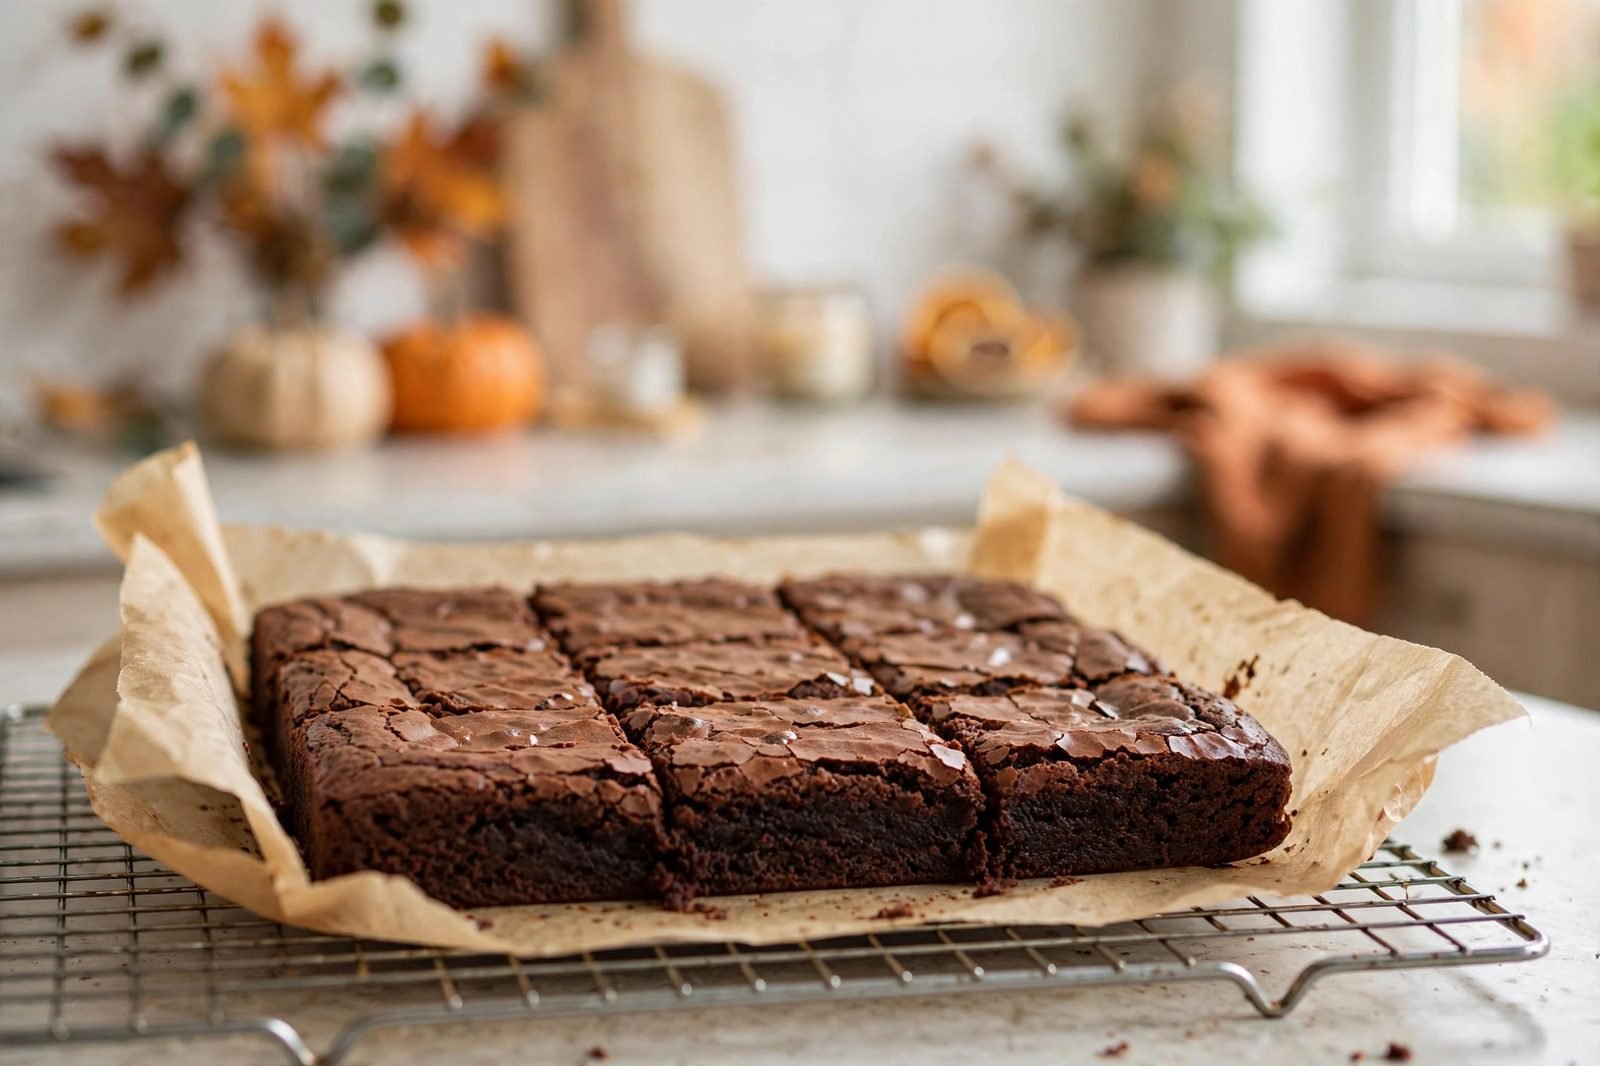
- Cool completely (about 1 hour, passive).. Set the pan on a wire rack and cool completely, about 1 hour. Lift the slab out using the parchment overhang and cut into 12 squares. The brownies must be fully cool or the icing will melt on contact.
- Make the white icing (5 minutes).. Whisk the powdered sugar with 2 tablespoons of the milk and the vanilla until smooth and thick but pipeable — it should ribbon off the whisk. Add the remaining tablespoon of milk only if needed. Transfer to a piping bag (or a zip-top bag with a small corner snipped).
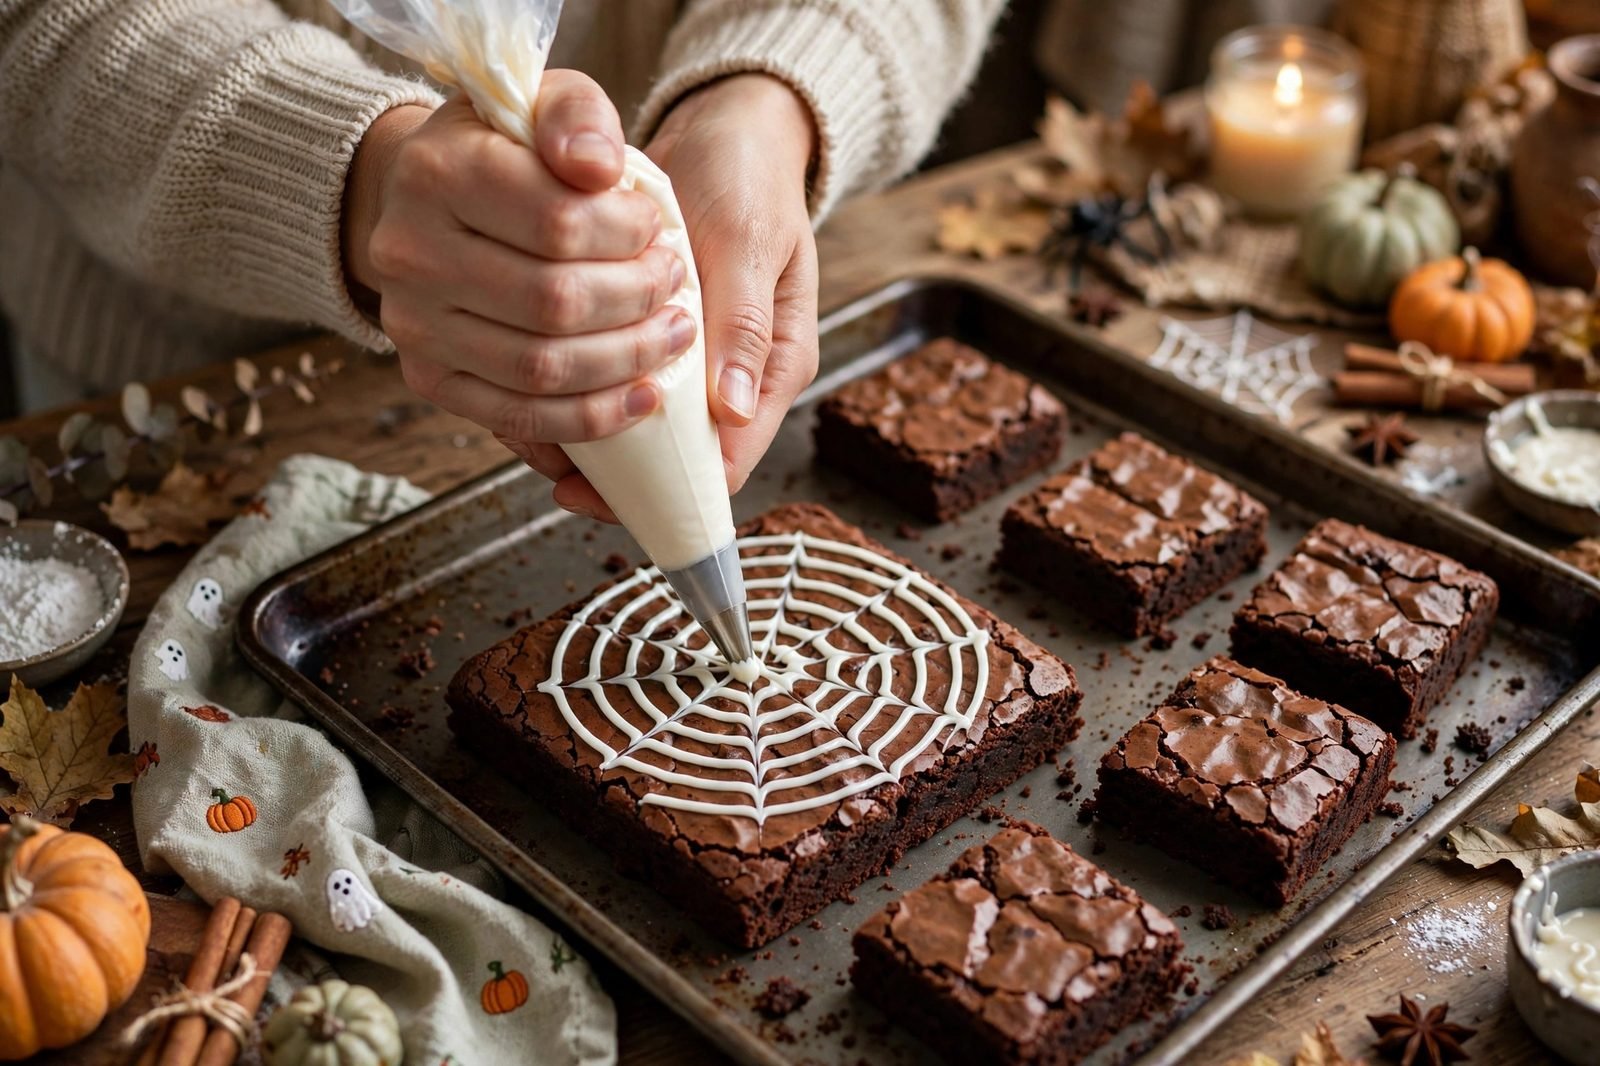
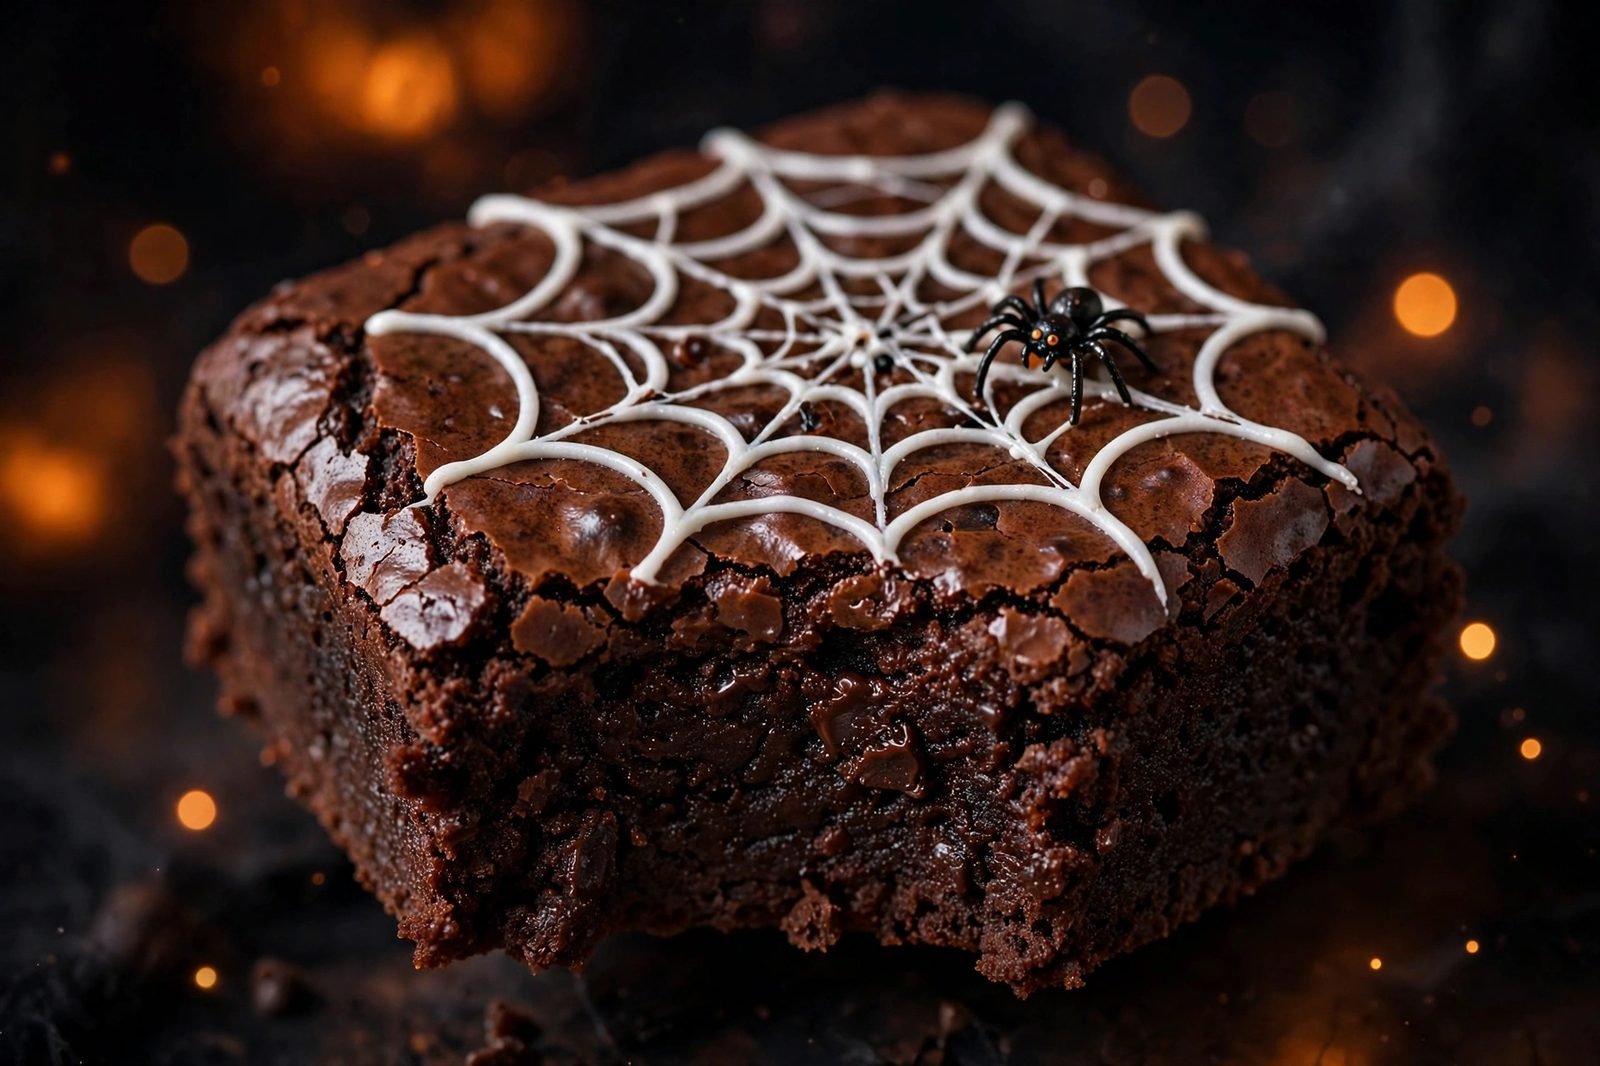
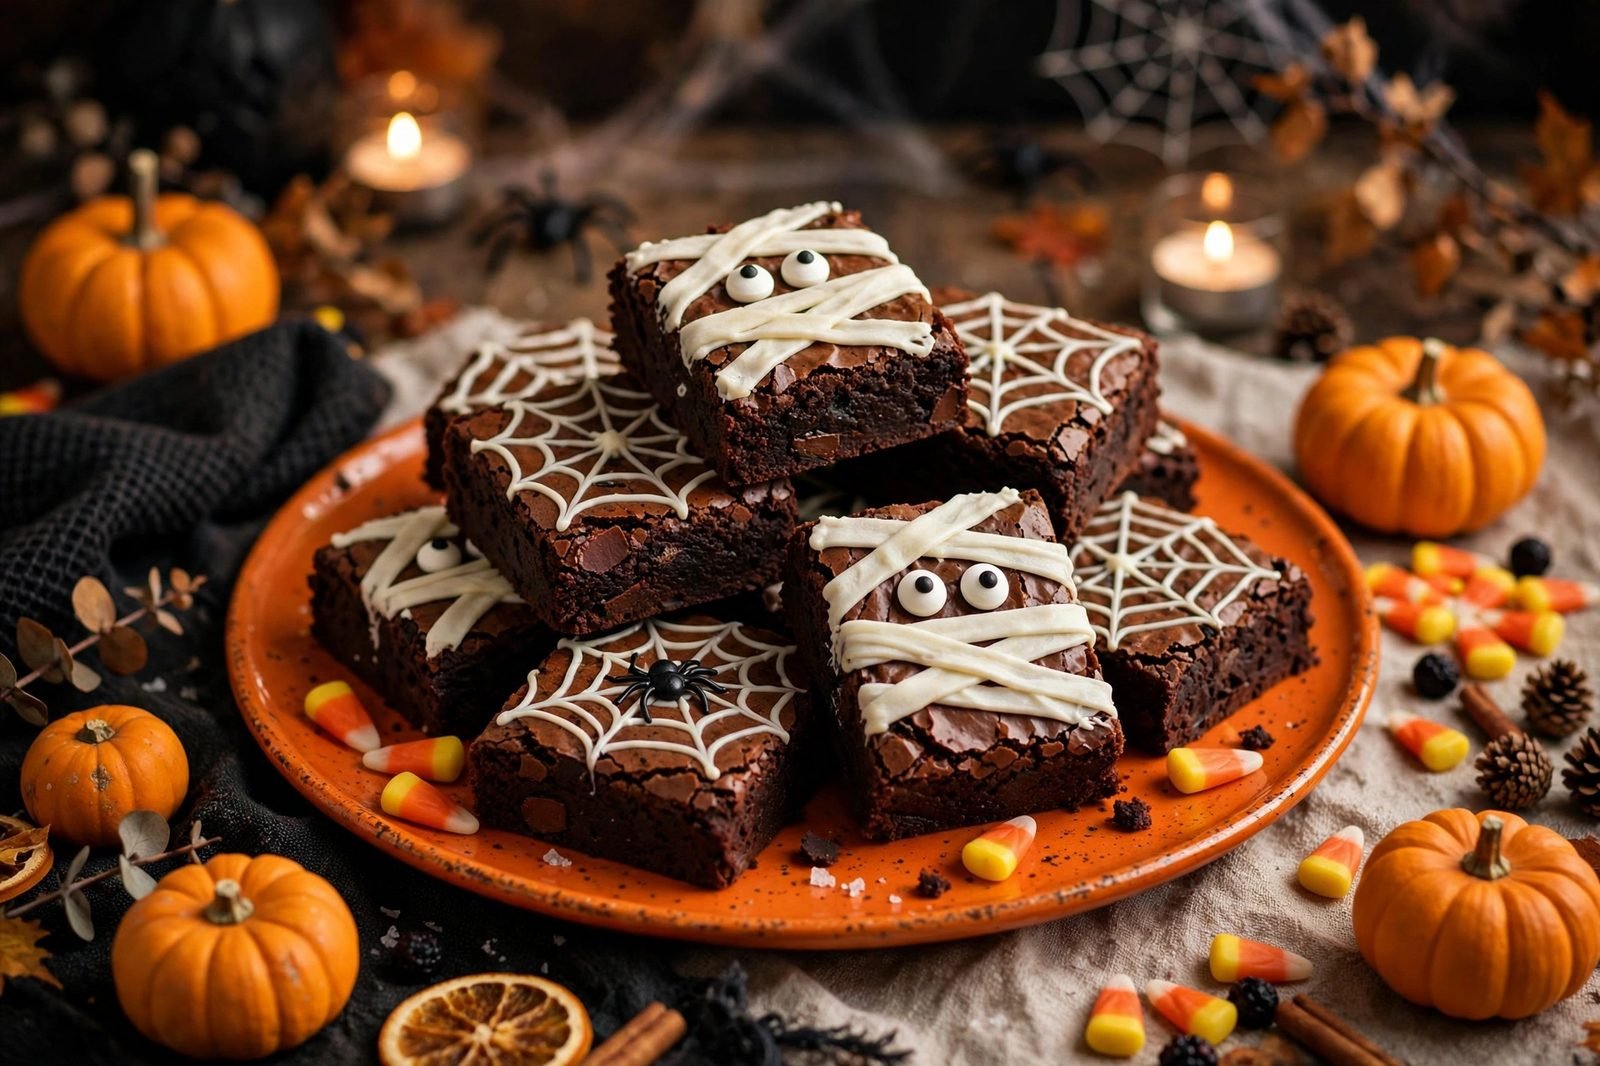
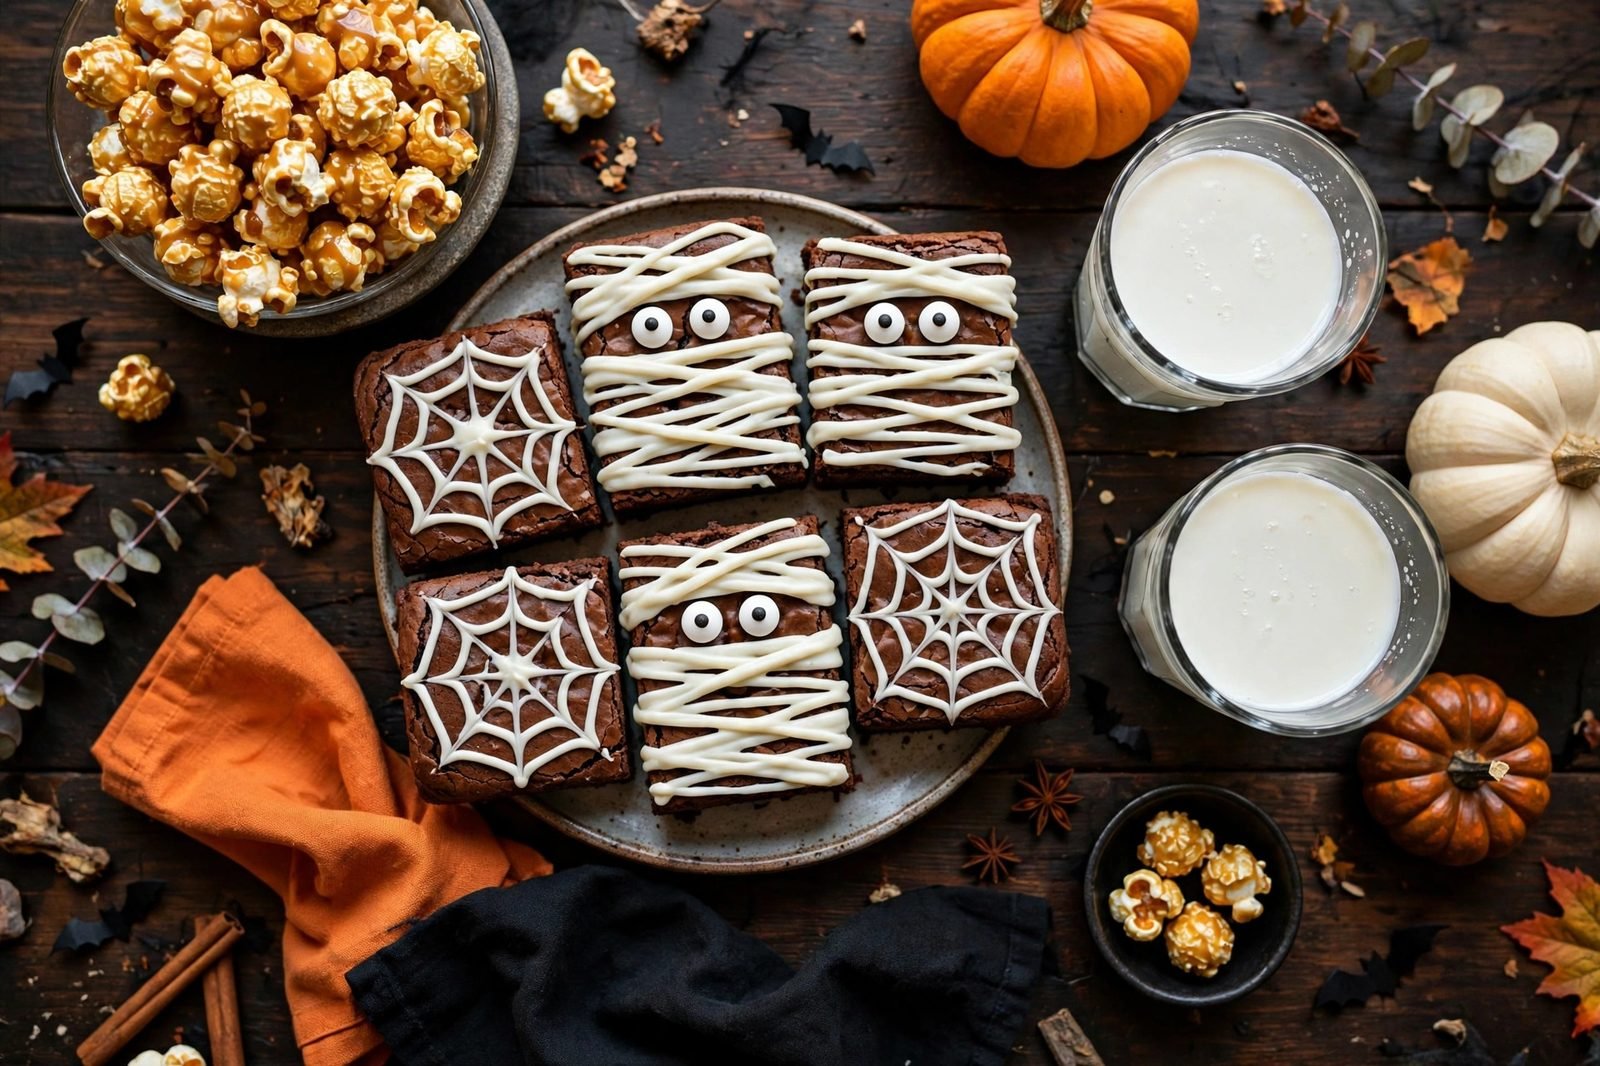
- Decorate the spiderwebs (about 10 minutes).. For 6 brownies: pipe 3–4 concentric circles of icing on each square. Drag a toothpick from the center outward through the circles (about 8 lines) to pull the web shape. Top with a candy spider if you like.
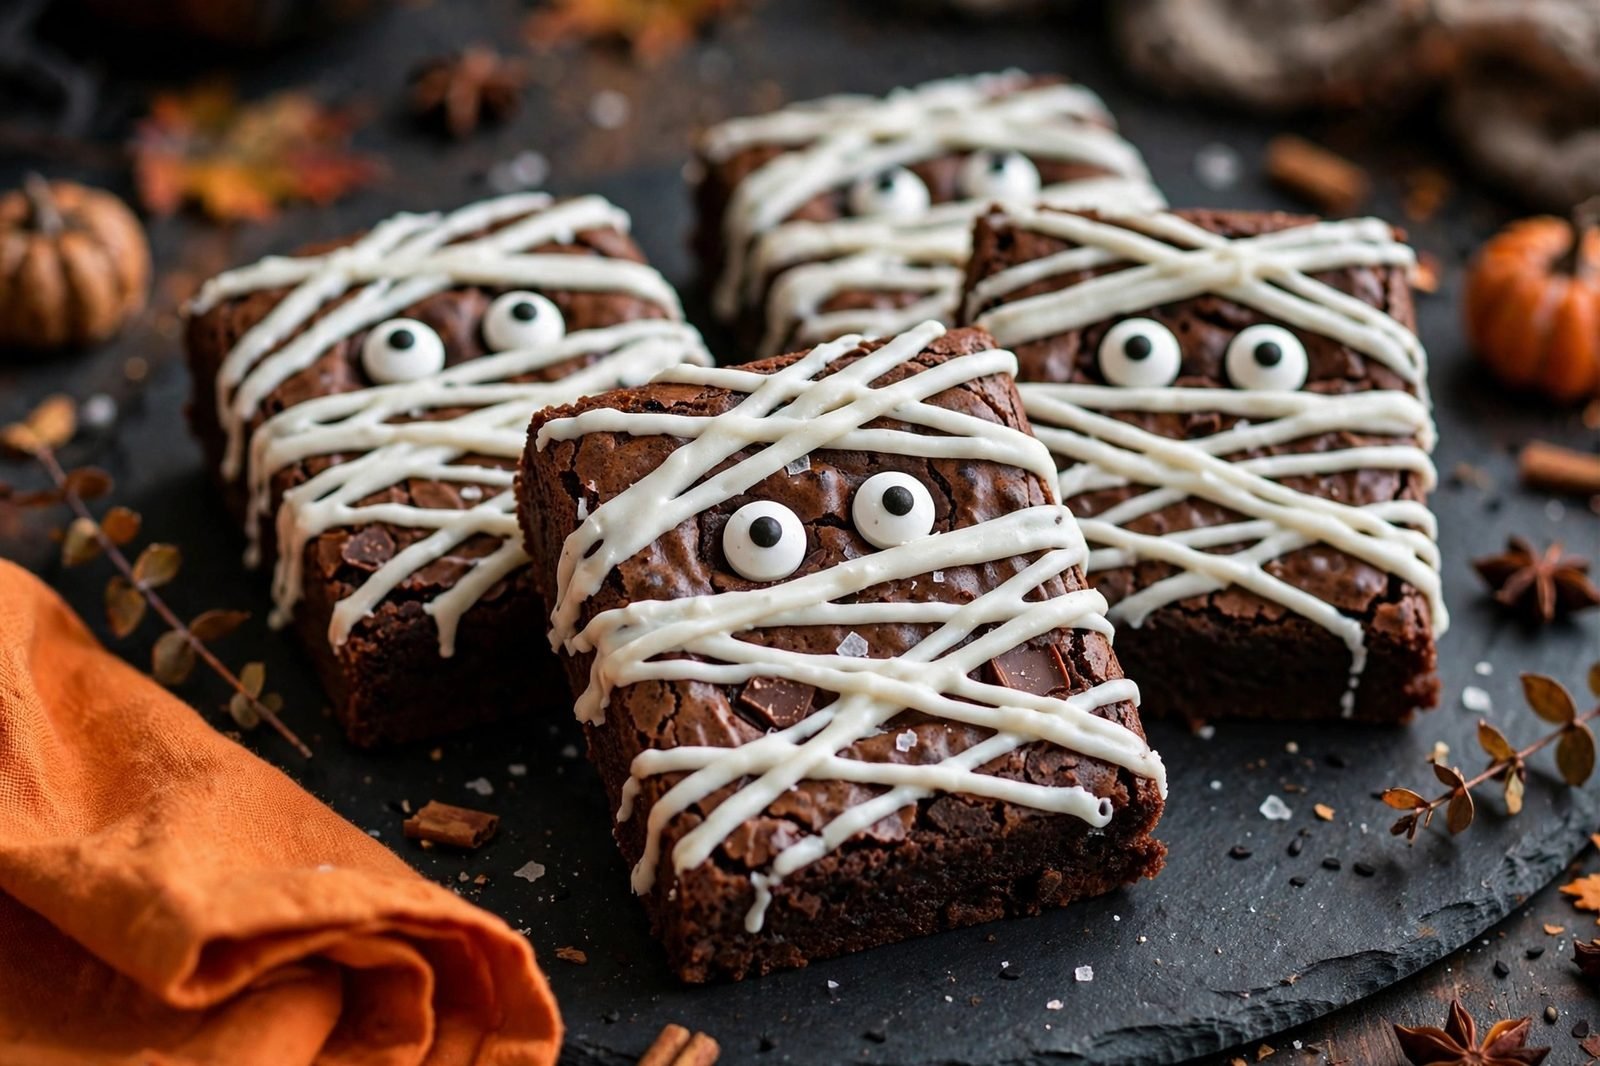
- Decorate the mummies (about 10 minutes).. For the remaining 6 brownies: pipe horizontal zigzag bands of icing across each square, leaving two small gaps. While the icing is still wet, press 2 candy eyes into each gap so they peek through the “bandages.” Let the icing set about 30 minutes before stacking or packing.
How to decorate
- Spiderwebs: Pipe 3–4 concentric icing circles on a brownie, then drag a toothpick from the center outward through the circles about 8 times. That’s it — instant web.
- Mummies: Pipe horizontal zigzag icing bands across the square, leaving two gaps; press candy eyes into the gaps while the icing is wet.
- Icing consistency matters: It should be thick enough to hold a line but thin enough to pipe. If it’s too stiff, add milk a teaspoon at a time.
- Decorate on a cool brownie. Warm brownies melt the icing into puddles — wait until the slab is completely cool before cutting and decorating.
- Half and half is a suggestion: Do all spiderwebs, all mummies, or let kids pick their favorite — the recipe makes 12 and the icing is enough for either design.
Spooky Halloween Brownies
Ingredients
Equipment
Method
- Position a rack in the center of the oven and heat to 350°F. Line a 9×9-inch metal baking pan with parchment paper, leaving an overhang on two sides for easy lifting.
- In a large bowl, whisk the melted butter with the granulated sugar and brown sugar until smooth. Whisk in the eggs and vanilla. Add the cocoa powder, flour, and salt, and stir with a spatula until just combined — a few streaks are fine; don’t overmix, which keeps the centers fudgy. Fold in the chocolate chips. Spread evenly in the prepared pan.
- Bake until the edges are set and a toothpick inserted in the center comes out with moist crumbs (not wet batter), 28–32 minutes.
- Set the pan on a wire rack and cool completely, about 1 hour. Lift the slab out using the parchment overhang and cut into 12 squares. The brownies must be fully cool or the icing will melt on contact.
- Whisk the powdered sugar with 2 tablespoons of the milk and the vanilla until smooth and thick but pipeable — it should ribbon off the whisk. Add the remaining tablespoon of milk only if needed. Transfer to a piping bag (or a zip-top bag with a small corner snipped).
- For 6 brownies: pipe 3–4 concentric circles of icing on each square. Drag a toothpick from the center outward through the circles (about 8 lines) to pull the web shape. Top with a candy spider if you like.
- For the remaining 6 brownies: pipe horizontal zigzag bands of icing across each square, leaving two small gaps. While the icing is still wet, press 2 candy eyes into each gap so they peek through the “bandages.” Let the icing set about 30 minutes before stacking or packing.
Notes
Nutrition note
Protein is estimated at about 3g per brownie, calculated from USDA FoodData Central values — not lab-tested. Full nutrition panels aren’t provided; these are estimates only.
Tips for perfect Halloween brownies
- Don’t overbake. Pull the pan when a toothpick comes out with moist crumbs — that’s what keeps them fudgy. Wet batter means they need a few more minutes.
- Room-temperature eggs mix faster into the batter, which means less stirring and a fudgier result.
- Cut before decorating. Sharp, clean squares are much easier to ice than cutting through set icing later — wipe the knife between cuts.
- Set the icing before stacking: give it about 30 minutes at room temperature, then stack with parchment between layers.
- Want a deeper chocolate flavor? Dutch-process cocoa gives a darker, richer brownie that makes the white icing pop even more.
Storage
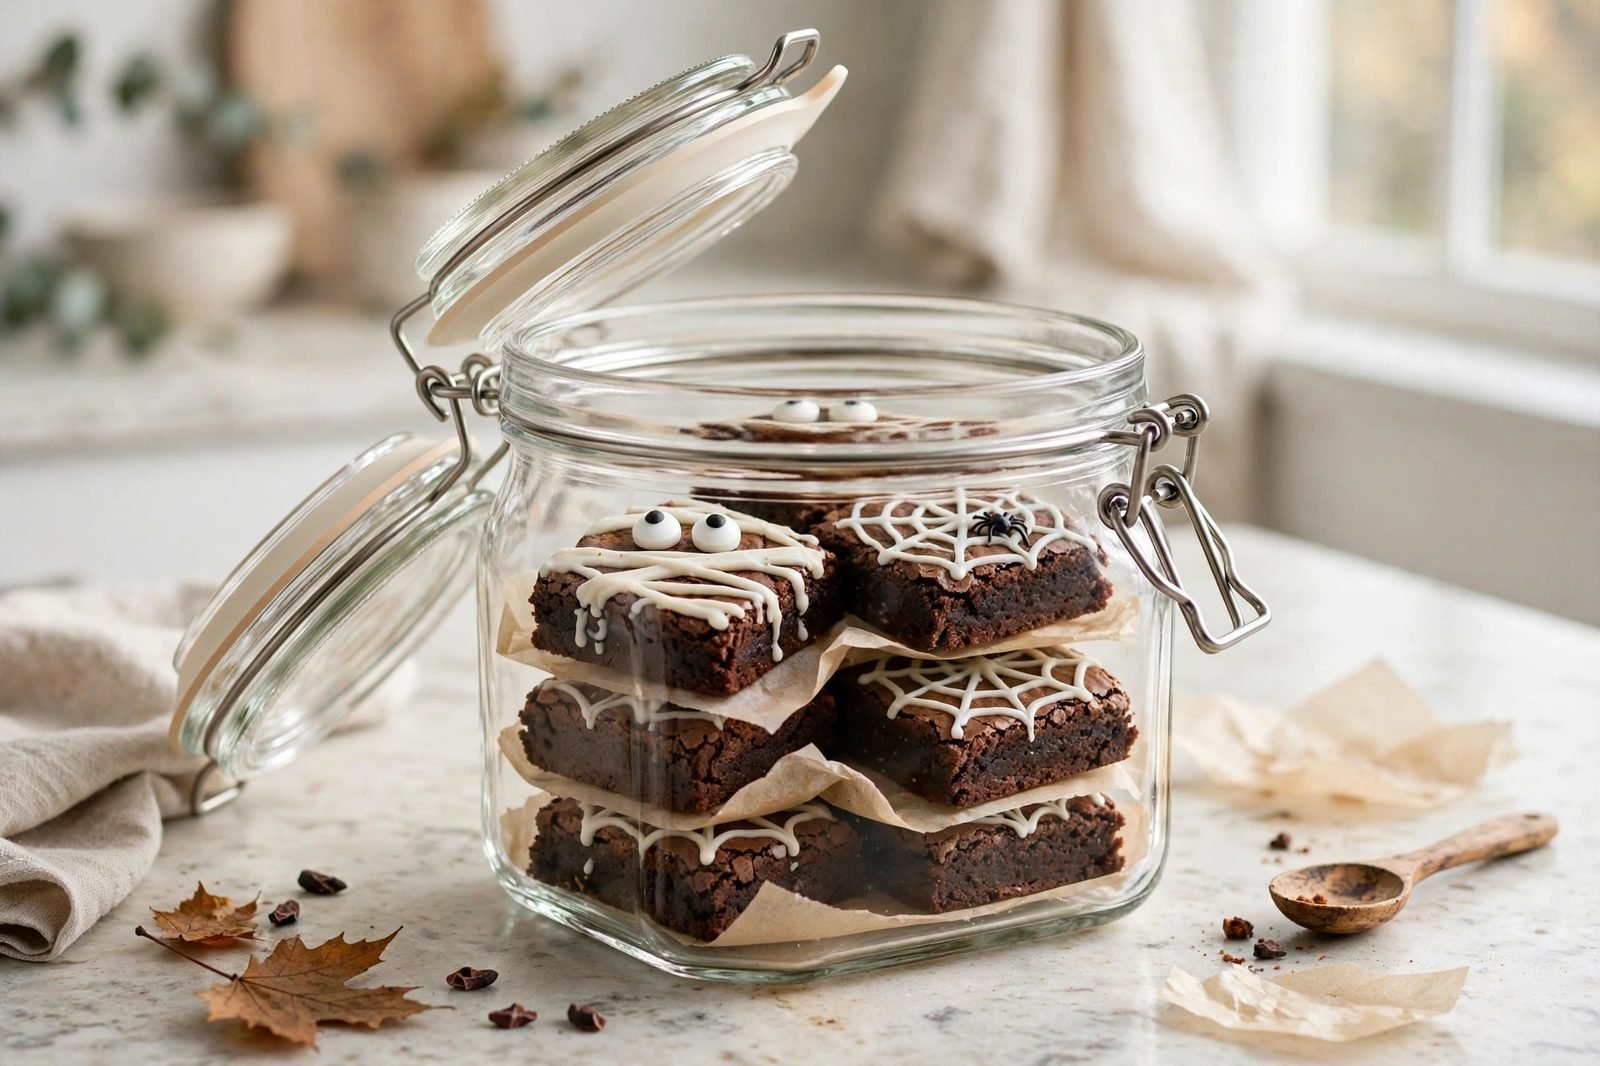
Store decorated brownies in an airtight container at room temperature for up to 4 days, or refrigerate for up to 1 week — bring to room temperature before serving for the fudgiest texture. Let the icing set about 30 minutes before stacking, with parchment between layers. To freeze, wrap undecorated brownies tightly and freeze up to 3 months; thaw and decorate after thawing so the icing stays crisp.
Frequently asked questions
Can I make these brownies ahead for a party? Yes — bake and decorate up to 2 days ahead and store airtight at room temperature. The icing sets firm in about 30 minutes, so they stack and transport well with parchment between layers.
Do I need a piping bag for the decorating? No — a zip-top bag with a small corner snipped works just as well. For the mummy zigzags you can even drizzle the icing with a spoon.
Can I use box mix instead? You can, for 12 brownies from a standard family-size box mix. But the one-bowl recipe here is just as fast and tastes noticeably fudgier.
How do I keep the brownies fudgy, not cakey? Two things: don’t overmix after adding the flour, and don’t overbake. Pull them when the toothpick shows moist crumbs — they finish setting as they cool.
Are these okay for a school Halloween party? The recipe itself is nut-free, but check your school’s policy — it does contain eggs, dairy, wheat, and chocolate. Candy eyes and spiders are also choking hazards for very young children, so save those for older kids.
More fall desserts
If you love seasonal baking, our Old-Fashioned Apple Crisp is the classic fall dessert — warm spiced apples under a buttery oat topping. And once Halloween passes, these spiderweb and mummy brownies are easy to adapt: skip the candy eyes and pipe a simple snowflake web for winter parties.